Step-by-step guide to create a Job Post
Step 1: Sign In to Employer Account
Step 2: Navigate to “Post A New Job”
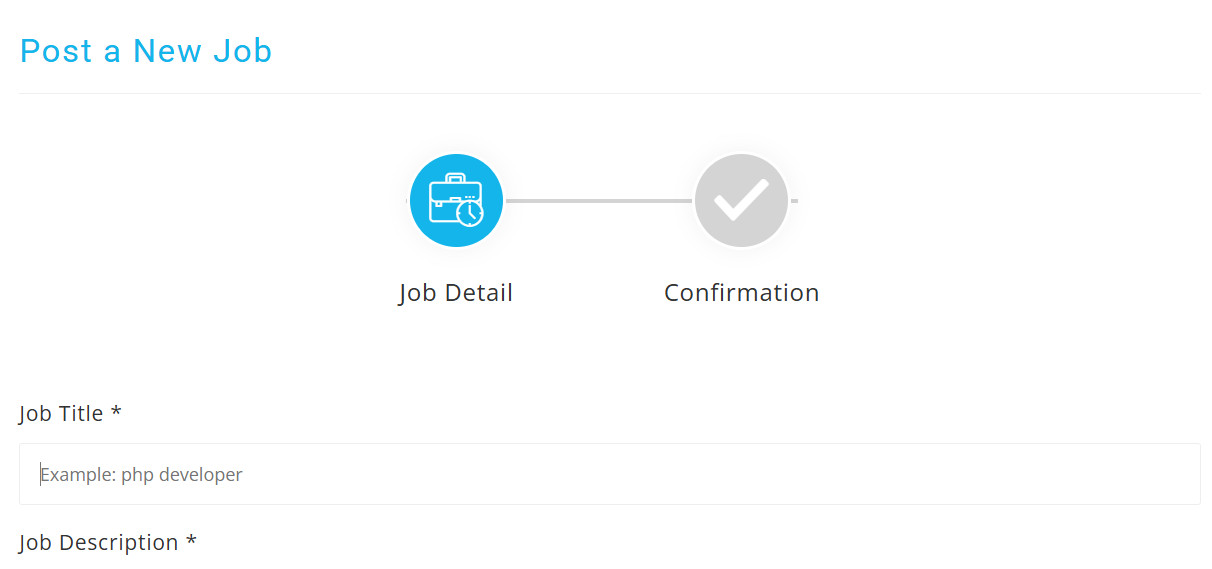
Step 3: Enter Job Details
Step 4: Updating / Editing a Published Job Post
Step 1: Sign In to Employer Account
-
-
- Click “Sign In” on the top-right corner.
- Enter your registered Email Address and Password.
- Click “Sign In” to access your Employer Dashboard.
-
Step 2: Navigate to “Post A New Job”
Select the ‘Post a New Job’ section in your dashboard
Step 3: Enter Job Details
Complete all required fields to create an effective job post
*Job Title: Be specific to attract relevant candidates. (e.g, “Marketing Manager” or Sales staff”)

*Job Description: A sample job description template is provided. You can either simply fill in the required details, or delete the template and create your own custom job description.

*Job Sector: Choose the most relevant job sector from the dropdown list (e.g., Accountant, Sales Staff, Marketing Staff..) If the job sector isn't listed then choose 'Other Job'
*Job Type: Select job type from dropdown options (e.g., Full-Time, Part-Time, Internship or Remote)

*Salary: Enter salary or salary range (e.g., ₹20,000 or ₹ 20000 - 25000)

*Education: Select the required education for this job from the dropdown menu

*District: Select work district from the dropdown option

*Job Location: Enter job location and district (e.g., Kochi, Ernakulam)
-
- Terms & Privacy Policy: Tick the box to agree Terms and Privacy Policy
- Post Job: Ensure all details are accurate and free of errors. Then click “Post Job” to make the job live.
Post-Submission Actions
Step 4: Updating / Editing a Published Job Post
- Access Dashboard
Log in to your employer account. Navigate to “Manage Jobs” section
2. Locate the Job Post
Find the relevant job listing in your active job posts. Click the pencil (edit) icon next to the job title
3. Modify Job
Modify any field (title, description, requirements, etc..)
4. Update
Click “Update Job” to confirm edits. Your post will remain active with updated information


